
Design Guides
How to Hide Under Cabinet Lighting Wires (2026 Guide)
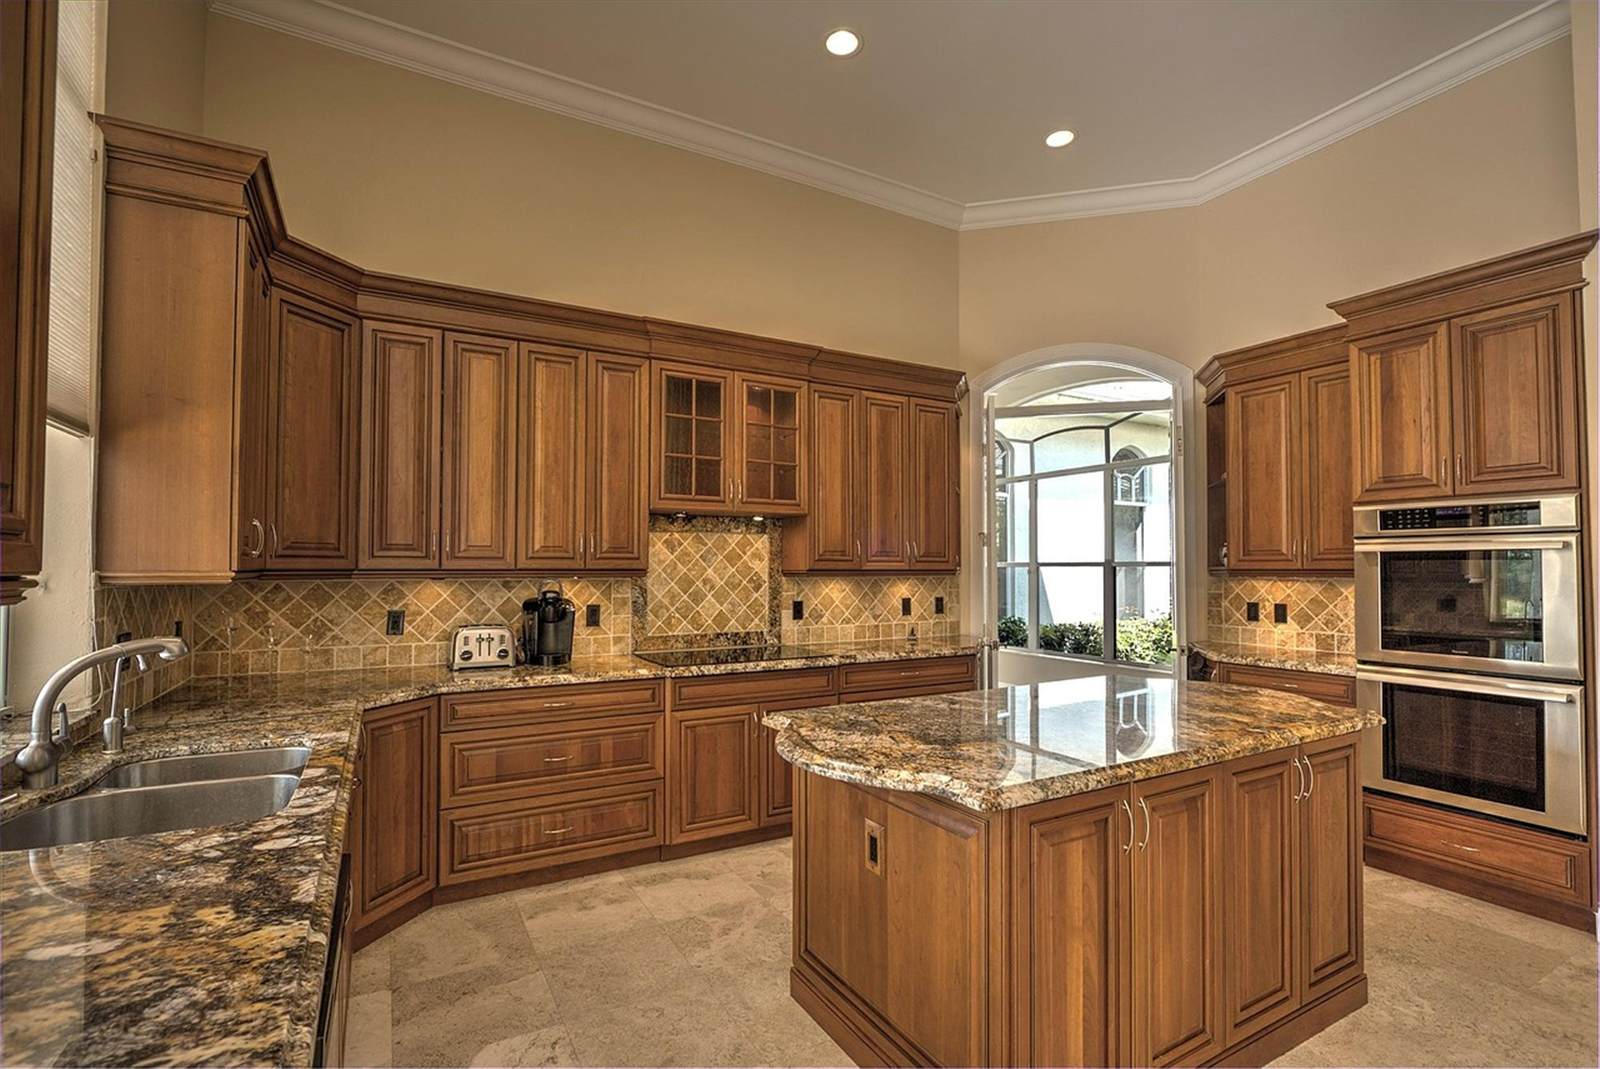
Under-cabinet lighting is one of the most-adopted kitchen lighting upgrades, but the wiring is what makes or breaks the finished look. The single biggest factor in a clean installation is timing: routing wire while walls are still open beats fishing it through finished cabinetry and tile every time (Wilkerdos). Here's how to hide the wiring properly, whichever stage of your project you're at.
Which lighting type you choose decides how hard the wiring is
Not all under-cabinet lighting has the same wiring burden, and that decision happens before you think about hiding anything. Hardwired (direct-wire) fixtures connect to a listed junction box hidden inside a cabinet, with wire routed through the cabinet back into the wall cavity — the cleanest finished result, but it's line-voltage work for a licensed electrician, not a weekend DIY project.
Plug-in units run a cord to a nearby outlet instead of into the wall, which makes installation dramatically easier but leaves a visible cord to manage. Battery-powered or rechargeable strip lights need no wiring at all — the easiest option by far, with the tradeoff of periodic battery changes or charging instead of a permanent power source.
The single most useful timing decision
If you're planning any kind of kitchen update, route your lighting wire before the backsplash tile goes up, while the wall is still open. Patching doesn't need to be cosmetically perfect at this stage, since cabinets and backsplash will cover it entirely (Wilkerdos). If tile is already installed, retrofitting means peeling back tile or cutting a channel behind it with a drywall saw — a meaningfully harder job than doing it during construction.
This is the detail almost every generic "hide your wires" guide skips. The actual hard problem isn't finding a trick to hide a wire after the fact — it's deciding, early enough, to run it before the wall closes up. If you're planning a backsplash installation, that's the moment to also plan your lighting wire route.
Wire-hiding methods that don't require opening a wall
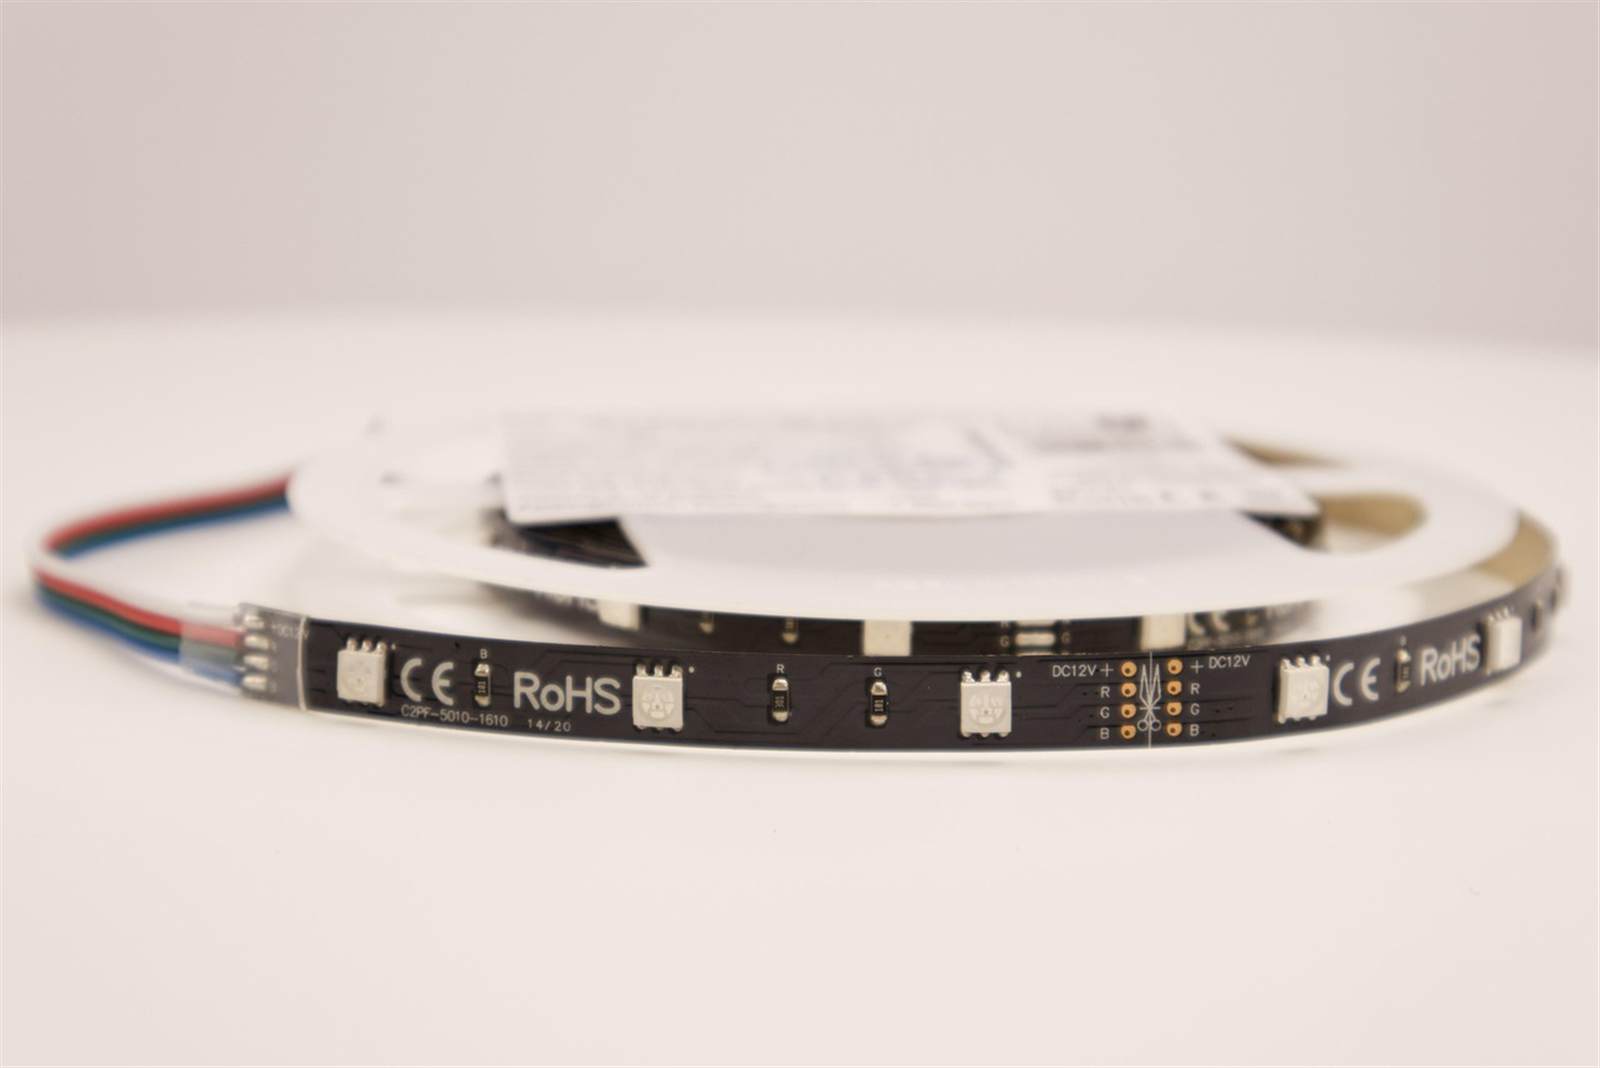
For retrofits, or for plug-in and low-voltage LED systems, several surface methods conceal wiring without any construction. Adhesive-backed cable clips secure a cord run flush against the underside of the cabinet, while snap-together raceway channels bundle multiple wires into one low-profile track, mounted with adhesive or screws. Paintable cord covers work well in rentals or anywhere drilling isn't an option, since they mount without permanent fasteners (Fabuwood Cabinetry).
A lightbox — a small enclosure mounted inside the upper cabinet directly above the fixture — is another common approach, containing all wiring and low-voltage connections completely out of sight behind the cabinet door.
Understanding the electrical code basics
Hardwired lighting has to terminate in a listed, accessible junction box and run on its own general lighting circuit — it can't be spliced onto the 20-amp small-appliance circuit reserved for countertop receptacles (NEC 210.52(B)(2)). Low-voltage LED tape, powered through a listed transformer, follows more relaxed rules and can typically run as exposed cable secured to cabinet surfaces rather than requiring a junction box.
GFCI protection is a distinction worth understanding before you choose a lighting type: it isn't required for hardwired fixtures, but plug-in units drawing power from a nearby outlet do need GFCI protection, since the 2023 NEC revision to 210.8(A)(6) broadened GFCI requirements to essentially every kitchen receptacle, not just countertop ones. Whatever cable you run through a wall cavity also needs to be secured within 12 inches of any box and at intervals no more than 4.5 feet apart.
If you're already thinking about task lighting as a priority for your renovation, we've covered why that instinct is well-founded in our functional kitchen design guide — this post picks up where that leaves off, with the actual wiring mechanics.
Hiding the LED driver or transformer
The driver or transformer that powers low-voltage LED tape is usually the bulkiest single component in the whole installation, and it's the piece most guides forget to address. Common placements include the uppermost back corner of an upper cabinet, tucked inside a base cabinet, behind a drawer, or mounted behind a removable, tool-free toe-kick panel that still allows future access if the driver ever needs replacing.
Our finding: clients almost never ask about hiding the light strip itself — they ask about the driver box, because it's the one piece that doesn't tuck neatly against a flat surface. Planning where it goes before installation saves an awkward retrofit later.
Wire-hiding methods at a glance
| Method | Best Use Case | Difficulty |
|---|---|---|
| Route through cabinet back into wall cavity, hidden junction box | New construction or full remodel, before backsplash | Requires a licensed electrician (line-voltage) |
| Adhesive cable clips along cabinet underside | Retrofit, plug-in or low-voltage LED tape | DIY-friendly |
| Snap-together raceway/wire molding channel | Retrofit bundling multiple wires; rental-friendly | DIY-friendly |
| Route wire behind backsplash before tile install | New construction or remodel, before tiling | Electrician for line-voltage; DIY-feasible for low-voltage |
| Paintable cord covers/channels | Rentals, quick fixes, no drilling allowed | DIY-friendly |
| Toe-kick panel for driver/transformer | Any hardwired or low-voltage system needing driver access | DIY-friendly to moderate |
Source: Fabuwood Cabinetry, Ampora, Wilkerdos.
Frequently asked questions
Do I need an electrician for under-cabinet lighting?
For hardwired (direct-wire) fixtures, yes — they need a listed junction box and their own general lighting circuit, which is licensed electrical work. Plug-in and battery-powered options need no electrician at all.
Is GFCI protection required for under-cabinet lighting?
It depends on the type. Hardwired fixtures don't require GFCI protection, but plug-in units drawing from a nearby outlet do, since the 2023 NEC broadened GFCI requirements to essentially every kitchen receptacle.
Should I install lighting wiring before or after my backsplash?
Before, whenever possible. Routing wire while the wall is open means the patch doesn't need to look perfect, since cabinets and tile will cover it. Retrofitting after tile is installed means cutting into or removing finished work.
What's the hardest part of an under-cabinet lighting installation to hide?
The LED driver or transformer, not the wire itself. It's typically hidden inside an upper cabinet corner, a base cabinet, or behind a removable toe-kick panel that still allows future access.
Can I hide under-cabinet lighting wires without any wall work?
Yes, for plug-in or low-voltage LED tape systems. Adhesive cable clips, snap-together raceway channels, and paintable cord covers all conceal wiring on the surface without drilling or opening a wall.
The bottom line
Hiding under-cabinet lighting wires comes down to two decisions: which lighting type you choose, and when you route the wire relative to your backsplash and cabinet installation. Hardwired lighting gives the cleanest result but needs an electrician and ideally gets wired before the wall closes up; plug-in and battery options trade a bit of visible cord or maintenance for a project you can do yourself entirely.
Book a design consultation and we'll help you plan lighting wiring at the right point in your renovation.
Sources
- Wilkerdos, Install Under Cabinet Lighting — 1 Day Kitchen Improvement, retrieved 2026-08-13, link
- Fabuwood Cabinetry, How to Hide Under Cabinet Lighting Wires, retrieved 2026-08-13, link
- Ampora, Under Cabinet Lighting Wiring: Methods, Types & NEC Requirements, retrieved 2026-08-13, link
- wireref.com, Kitchen GFCI Requirements — NEC 2023 Section 210.8(A)(6), retrieved 2026-08-13, link
- Voltage Lab, Kitchen Island Outlet Code (2026 NEC), retrieved 2026-08-13, link